A small definition of API
A server-side web API is a programmatic interface to a defined request-response message system, typically expressed in JSON or XML, which is exposed via the web—most commonly by means of an HTTP-based web server.While "web API" in this context is sometimes considered a synonym for web service, Web 2.0 web applications have moved away from a service-oriented architecture (SOA) with SOAP-based web services towards more cohesive collections of RESTful web resources. These RESTful web APIs are accessible via standard HTTP methods by a variety of HTTP clients including browsers and mobile devices.
Then how to create an API?
Knowing that is an API, how can we create one?- On the web there are many tutorials on how to create a REST service to our website.
- But most, if not all, require high programming skills, besides the loss of time presupposes, in case you have the knowledge, digesting the tutorial.
- Also many people are looking for a tool that allows them to create their API in a simple but robust, secure.
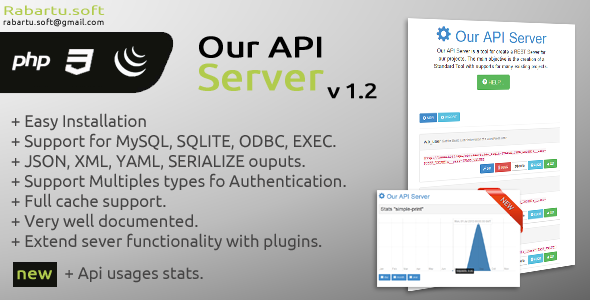
Our API Server


To create a simple API with "Our API Server" the first thing to do is go to [new] which immediately leads to API editor. The API editor contains 3 sections: Basic, Source and Security, which we will explain as we build our API.

The first is to assign a name to our API: In the name field type "sinple-print".
Assign a description: In the description field type "Simple print test".
Assign a path: In the path field type "/simple/print". (This path is relative to the main path. Important: The path must start with "/").
Cache: Type "0" for now. ( Is the time in seconds that the system cache the result of the API Incomings Request).
Method: Select "GET". (Method to be used in the request. The system supports all methods although you can specify whether to connect via GET or POST).
Output: Select "JSON". (Output to be used to print the data. By default the server comes with four output plugins JSON, XML, YAML y SERIALIZE).
Arguments: Leave blank.

Type: Select "PRINTER".
Action: Type "Hello API world". (The action is executed on the server to provide an output in the selected format).
Press the button "save" and finally on the dashboard could see something like this:

Copy the text highlighted in red in your browser and see a result like this:
[
"Hello API world"
]
In the second part of this tutorial we will create a much more complex api with security and MySQL query's.
This comment has been removed by the author.
ReplyDelete